Wednesday 30 March 2011

Birthday presents for boys - marble bags

Over the Easter holidays we have two birthday party invites, for  6 year old and 8 year old boys.
I've just made these drawstring bags and filled them with a pack of marbles purchased in Poundland, and I think they make a pretty neat gift.

Mother's Day Cards

 This one for my mother-in-law; the image is a free digi-stamp from Bird's Cards.
I printed the image out then hand painted it. Then I drew around the outline in black pen and I'm quite pleased with the end result.
This one is for my mum, just some printed papers, the shapes were cut using my Quickutz Squeeze and the greeting is hand-written.

Monday 28 March 2011

Mama made Monday - skulls and piranhas

Just made Anthony this t-shirt by chopping the image off an old adult's t-shirt and machine stitching onto a plain one.

And over the weekend James made himself a pencil case on the sewing machine - with a little bit of Mama help of course!

Friday 18 March 2011

Home Sweet Home; part 4 - the dining room


The dining room is home to the dining table. A very important point I think. Too many people eat their dinners in front of the telly, off trays on their laps. We eat around the table every tea-time.
It is also home to lots of books - and we have many more in the children's bedrooms and stored in the loft! I read somewhere that there are households which own more cars than books - surely that cannot be true?
We also keep our antiques in the dining room - some Clarice Cliff pottery, accessorised with some Star Wars lego...
And a Chinese tea set; an identical one recently featured on the Antiques Roadshow. Unfortunately it is practically worthless! They were brought back in their thousands during the war. (Mark's grandfather bought this one while serving in the Navy during the war; his granny hated it, hence the never used perfect condition.)
There are more family photos, old and new.
And this is my favourite spot - my little desk with my net book and my sewing machine. I am multi-skilled and can facebook and sew at the same time.
(How did that desk get so cluttered? I only tidied it the other day.)

Monday 14 March 2011

Mama made Monday - peasant top

I've still got loads of this Ikea fabric so this week I made a peasant style top and a little bag for Poppy.
Waiting for summer now so she can wear it with this skirt.

Tuesday 8 March 2011

Mama made Monday - Tank top

I bought a load of Sirdar snuggly bubbly yarn in the early days of my knitting journey, before I realised I hated knitting with bumpy wool.
To be fair this one isn't too bad to knit with and is nice and soft.
I didn't know it was going to be a tank top; I just cast on 100 stitches on a 4mm circular needle and starting knitting. When it got long enough I changed to straight needles, splitting it into 2 lots of 50 stitches.
I decreased by k2tog at each end of every knit row until I had 40 stitches left. I did a few more rows, then cast off. The straps are 10 stitches wide.
I decided to make a crochet edging because I hate picking up and I hate doing rib.
It's just a row of single crochet and a row of double crochet.
The yarn is Sirdar Calico, a cotton yarn leftover from another project. Not quite the same shade of lilac but looks nice nonetheless.
And it fits just right on my little model.

Saturday 5 March 2011

How to make a wet wipes cover

 I've been making these wet wipe covers out of oilcloth, and I thought I'd share with you.
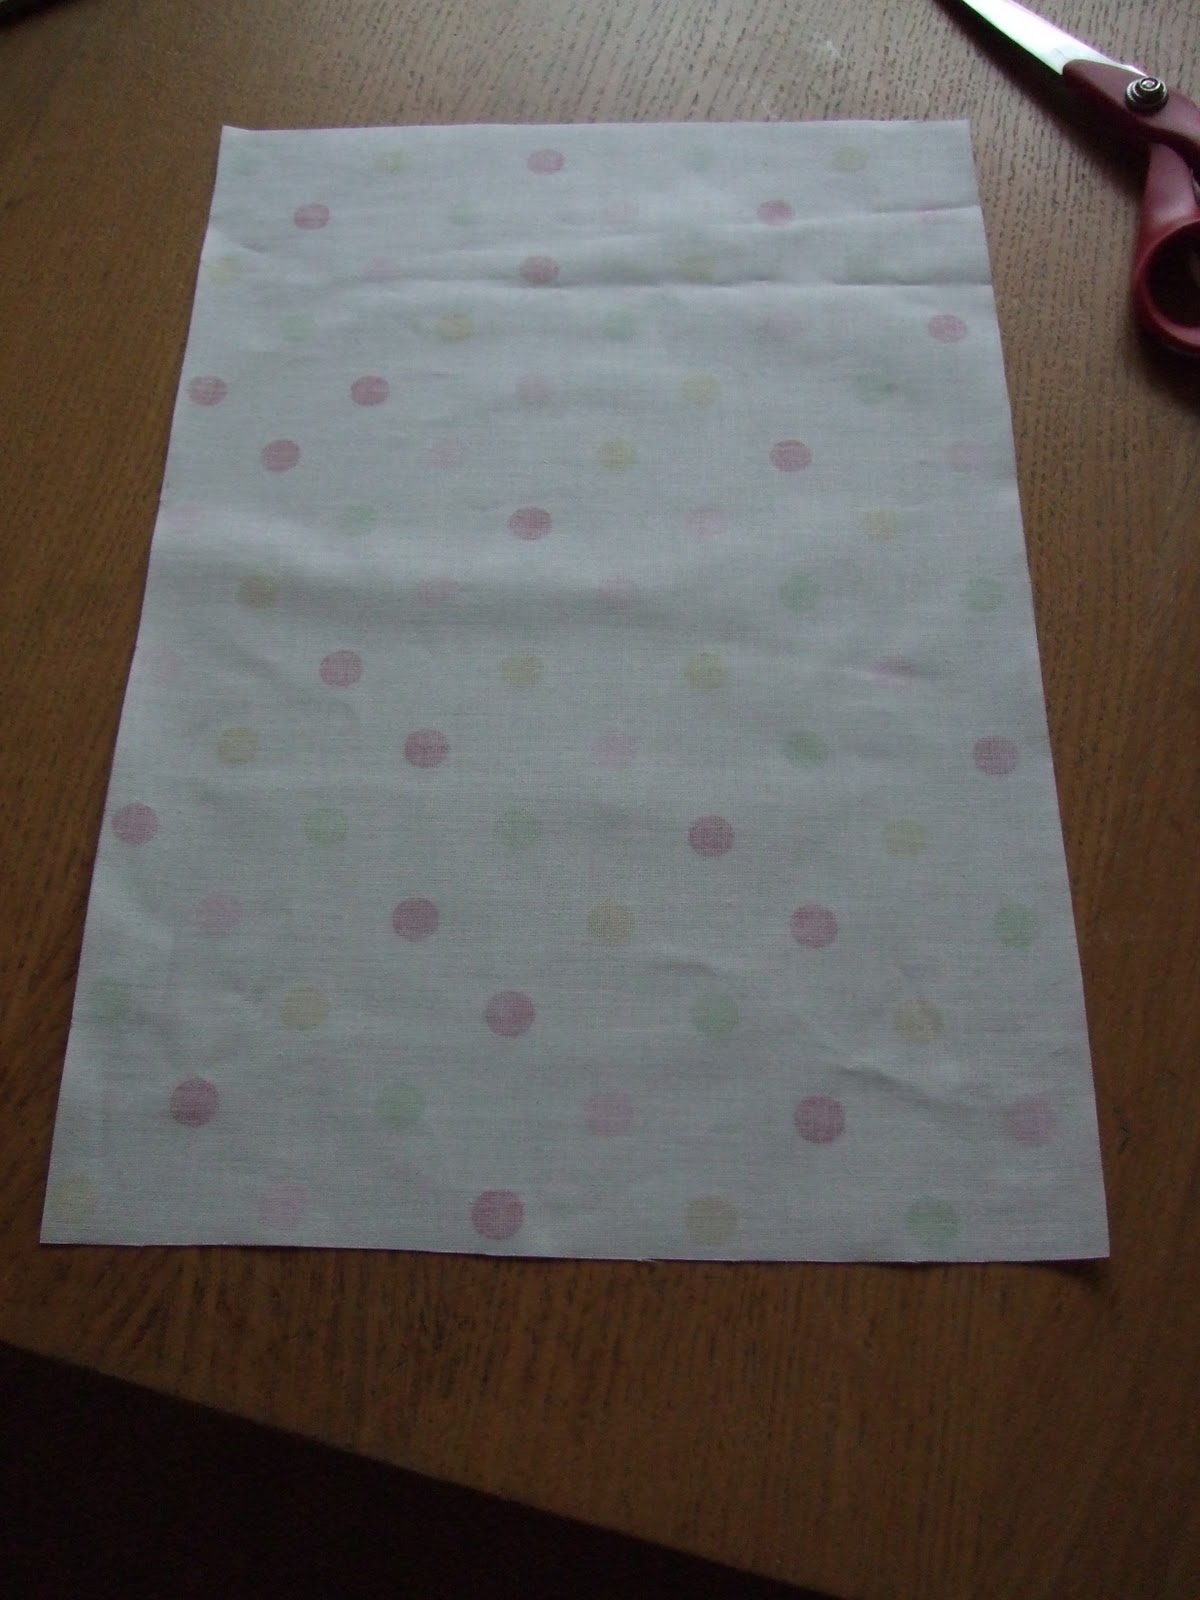
 You need a rectangle of oilcloth 26cm by 40cm. 
(I think some sturdy canvas type material might work too, normal cotton would be too floppy.)
 Turn over the 2 shorter edges to make a hem each end of approximately 1 cm.
The oilcloth won't slip through the machine so you need to pin a layer of tissue paper over where you need to sew.
 Sew the hems and rip the tissue off.
 Next wrap your rectangle around a full pack of wipes. 
There should be an overlap of about 2 cm. Pin each side.
 Take the wipes out and pin the sides in place, making the opening central.
(Your cover should be inside out.)
Sew the sides up and tidy the loose threads.
Turn the right way out and it's done!

(Edited to add; if you cut a rectangle 20cm x 16cm, follow the same method and you will make a little pouch the right size for a pack of disposable tissues.)